Installing Infiltration Chimneys @ Tallahassee Museum (May 2016)
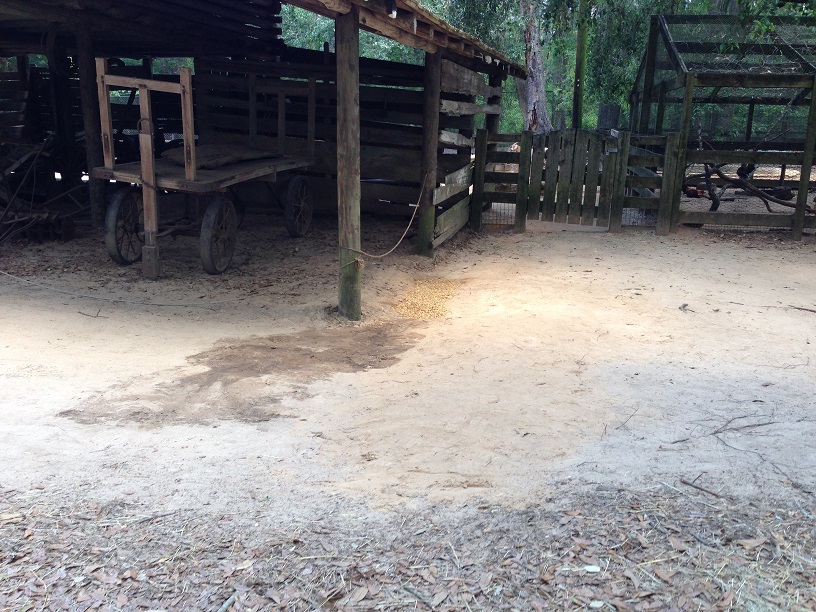
It may not look like much but there is a whole lot going on underneath that gravel.
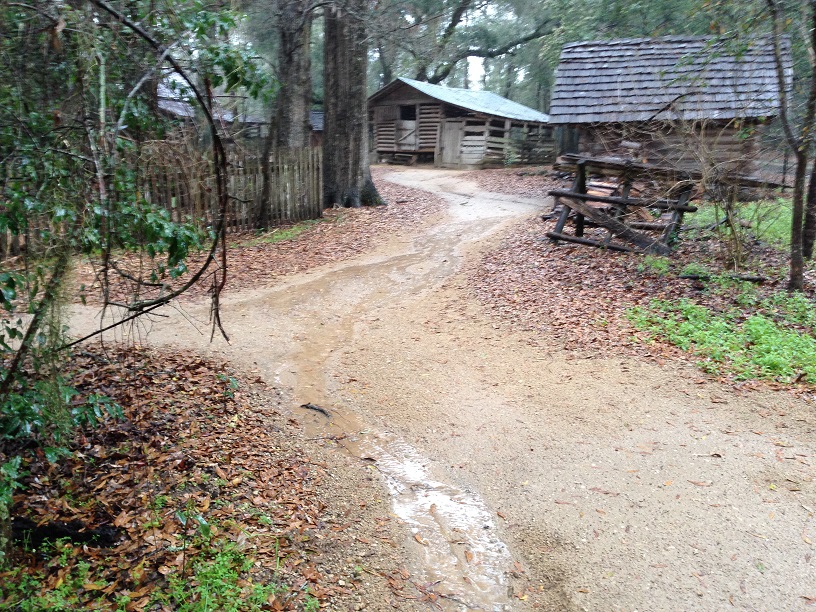
PROBLEM: Trail Washout
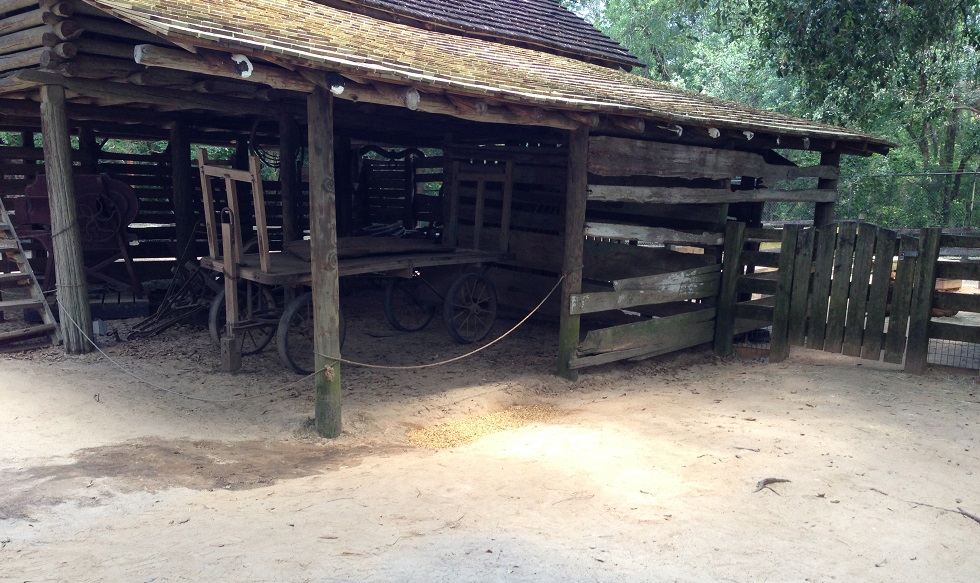
Despite being covered with compacted road base the trail that runs from the sheeps' pen to the outhouse has been prone to wash out for many years. This is a result of significant stormwater runoff generated by a lot of impervious surface (roofs) and the heavily compacted soils around the exhibits. |
Years of foot traffic have compacted soils such that paths have become the drainage channels. This is certainly not an uncommon condition and true of many nature trails and other heavily used areas.
|
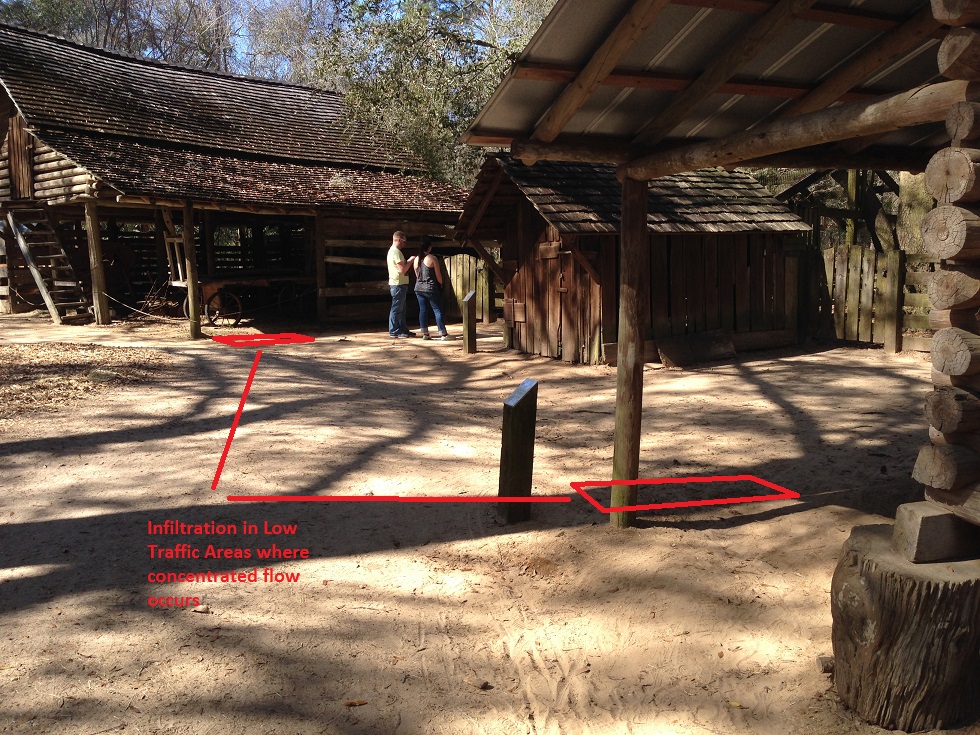
SOLUTION: Rather than continue to add material to the washout trail every time it eroded it was decided to try and tackle the runoff with several infiltration chimneys upslope of the path. Infiltration Chimneys were selected from the Green Infrastructure toolbox because they could blend in with the surroundings and not conflict with the historic setting.
|
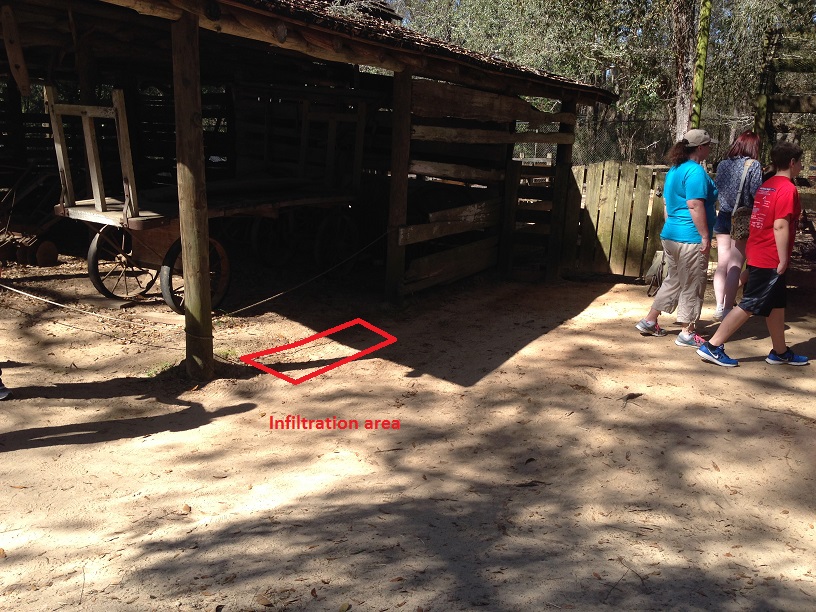
Chimneys are also suitable because the underlying soils are very sandy ... once you get past the upper few inches of heavily compacted material. The infiltration areas were tucked away to avoid the most heavily walked areas and in low spots that already receive stormwater runoff.
|
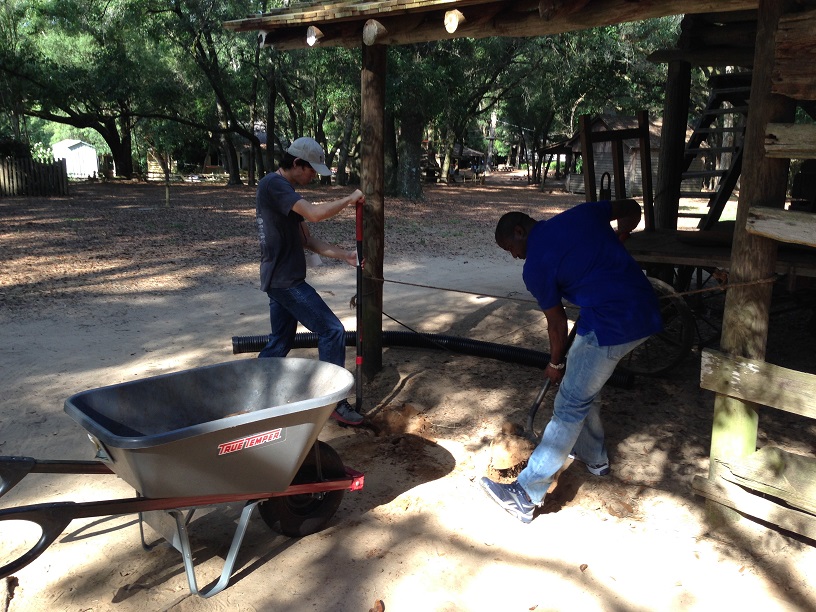
STEP 1 - Dig
Shovels were used to dig the larger shallow infiltration trench area. SAFETY FIRST: Call Before You Dig. Make sure utilities are located before you begin digging. Fortunately there were no utilities at the historic farm ... of course. |
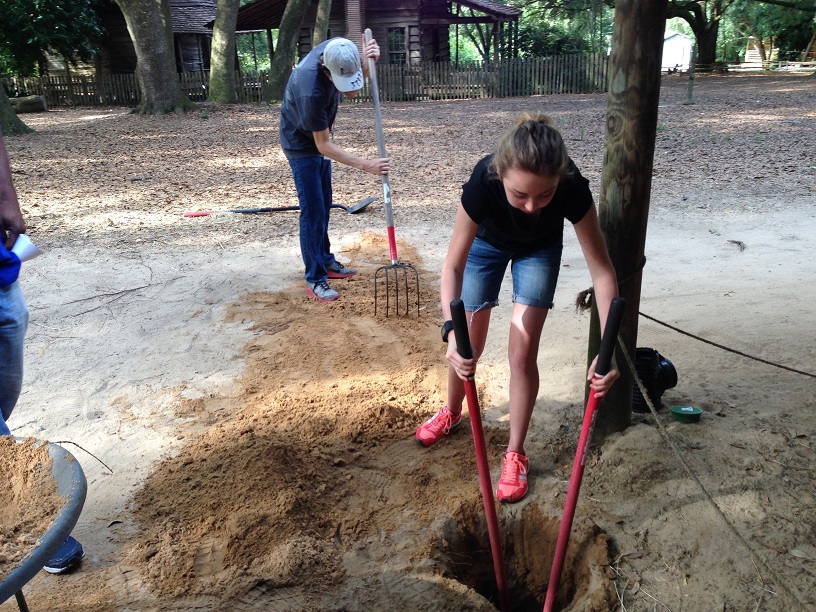
Post hole diggers were used to excavate the deeper infiltration chimneys. Excavated soil was distributed around the area to help define drainage to the infiltration chimney. Care, and a craftsman's level, was used to make sure water would not puddle into the barn. The pitchfork is being used to break up the existing soil to provide better adhesion between the newly placed soil and the existing soil.
|
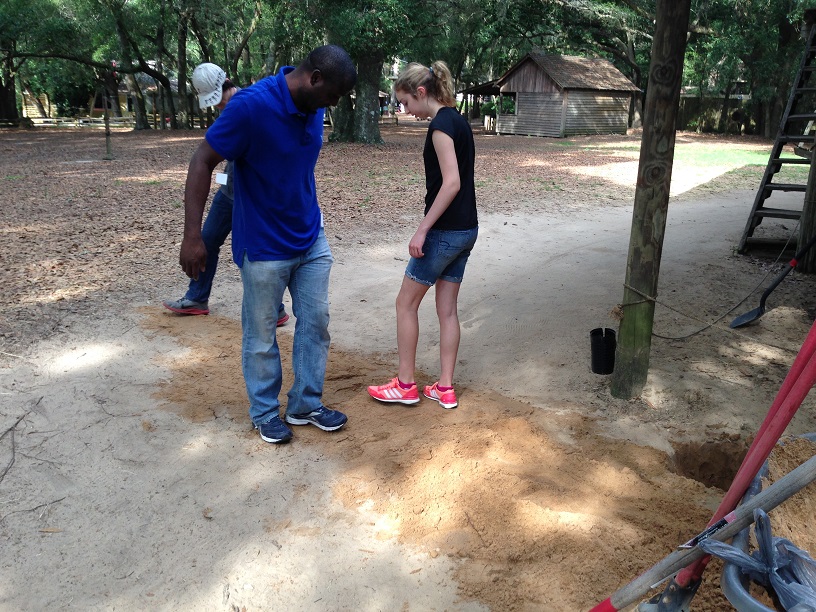
Tamp Dance!
What do you do when you don't have a Tamper tool to compact your dirt ... you have a Tamp Dance. The removed soil was pretty sandy which made it easy to dig, but it is unclear whether it will hold up well in the high traffic area. We will monitor to see, but if it doesn't some sturdy road base can be be used if necessary. |

Step 2: Installing the Slotted Corrugated Pipe :
Ensure you use corrugated pipes with the pre-cut slots in them so that water can exfiltrate out of the pipe into the surrounding soils. The pipe should be covered with a pipe sock which helps prevent soils from migrating into the pipe and filling it. |
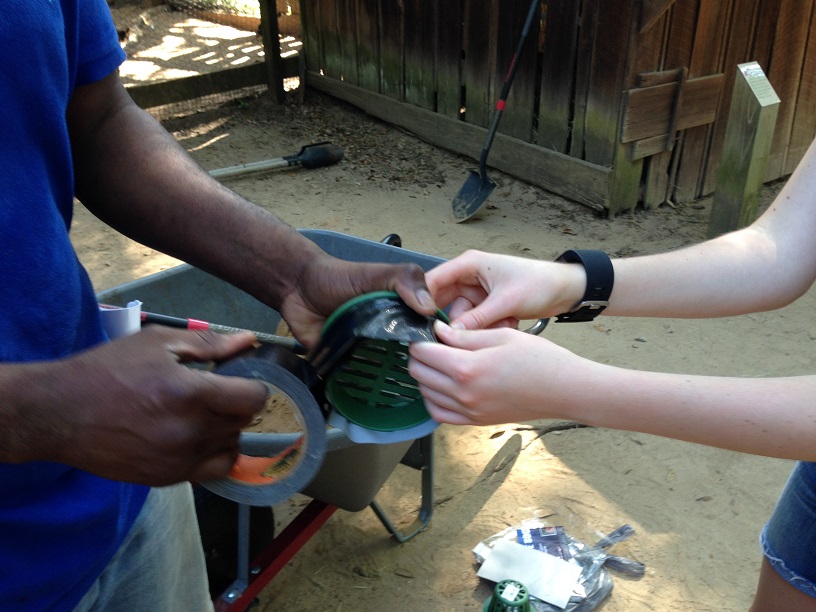
MacGuyver It!
What happens when things don't fit or unexpected problems pop-up ... you brainstorm solutions. In our case we had some pipe ends that were just a hair too small and were slipping into the pipe. Some quick volunteer thinking and some all purpose duct tape proved to be an effective solution. It may not be pretty but that is not terribly important when buried. Kudos to our inventive and collaborative volunteers! |

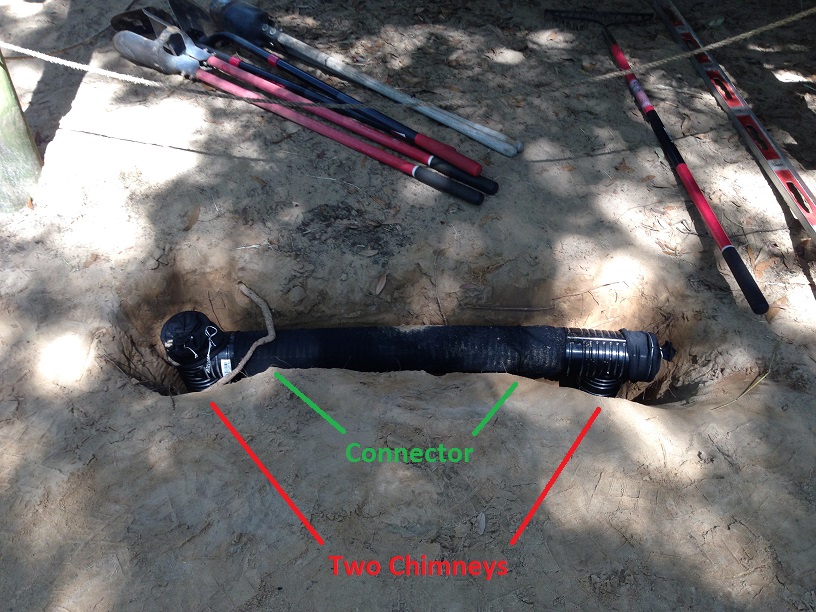
Here is a close-up of one of the two installed infiltration chimneys. The cap can be easily converted in the future to accommodate an open dome grate that would allow water to flow directly into the chimney. The chimneys are connected with a horizontal overflow pipe in the event one chimney fills more quickly than the other (More likely if a open dome grate is retrofitted in the future).
|
Pipe Install Complete.
|
Step 3: Backfill
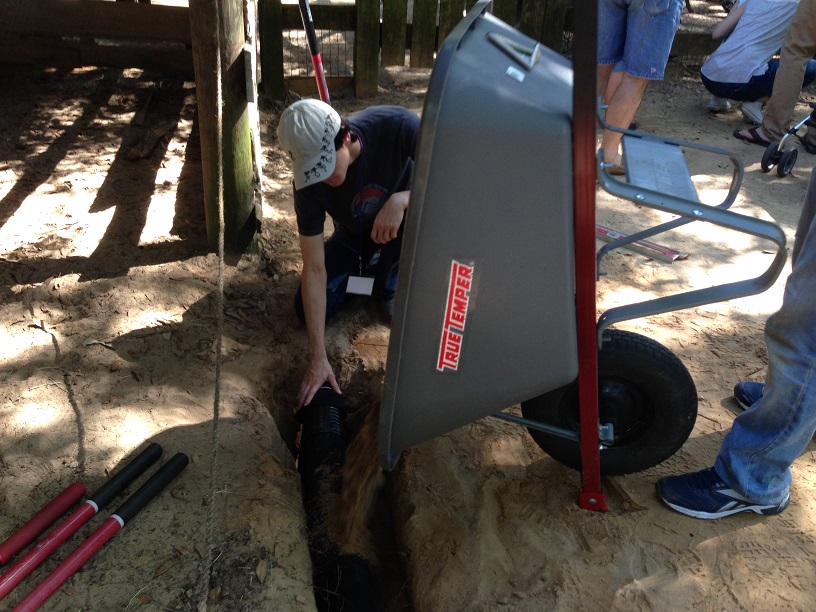
Excavated sand was placed back in the chimneys. The sand was settled by pouring water into the chimneys. |
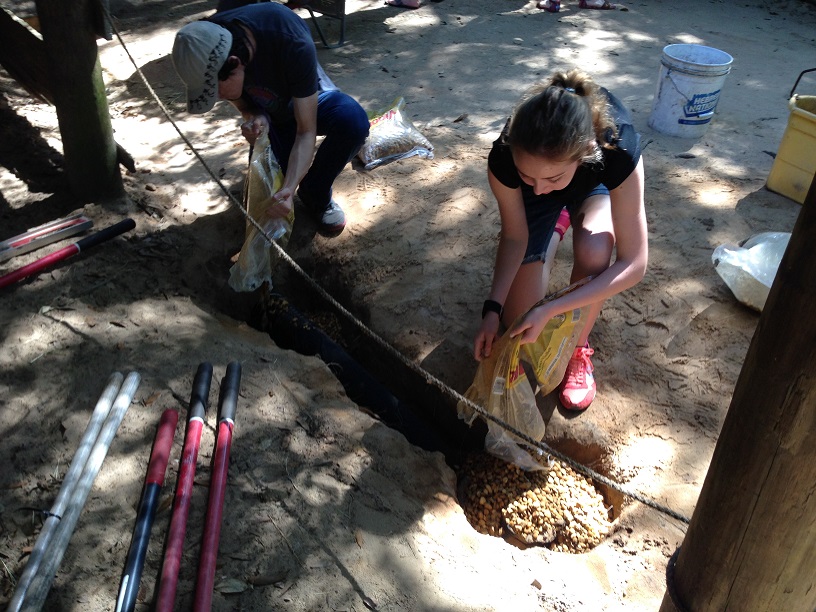
Pea Gravel was used to fill the upper portions of the chimneys and the infiltration trench.
|
... and FINISHED!
|
Volunteer Thanks!!!
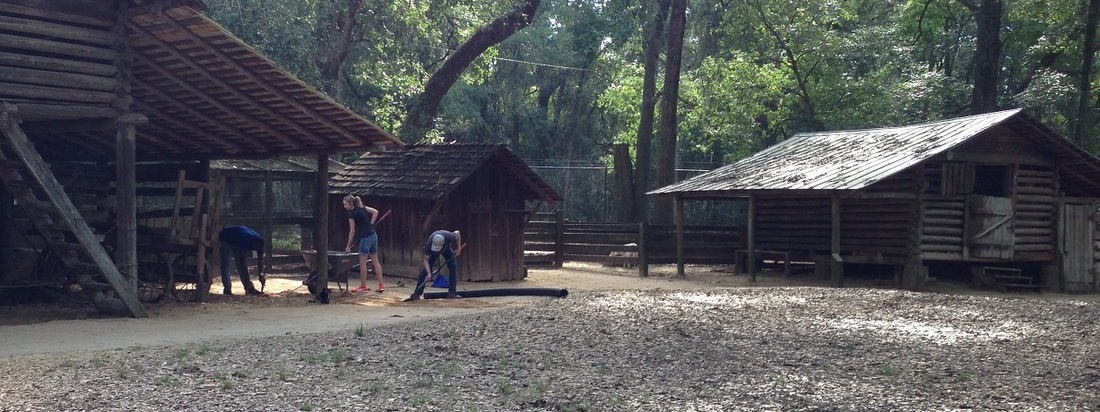
A sincere "Thank You" to all of our hard working volunteers.
Some Additional Info:
Time: ~2 hours to install.
Tools: Shovel, Post-Hole Digger, Wheelbarrow, Exacto knife
Materials [Total Cost ~$30-50]:
- One 10 foot length of Slotted Corrugated Pipe (was cut into 3 sections)
- One 10 foot Pipe Sleeve (covered all exposed slotted pipe)
- Two T-Connectors for Pipe
- Two Pipe End Caps
- Six Pea Gravel Bags (amount depends on size of trench and whether you can backfill excavated soil)
Monitoring: We will continue to monitor the function and performance of the system and provide updates from time to time.
